Gratuity
Prior to version 7.0.193, you needed a procedure or product for Gratuity so you could reimburse the provider using Commissions, now the system can track and report on Gratuity separately.
Gratuity Topics
Gratuity Functionality Must be Enabled
Tips, Tricks, and Notes for Gratuity
Adding Gratuity through the Clover Device
Applying Gratuity to an Invoice with Multiple Providers
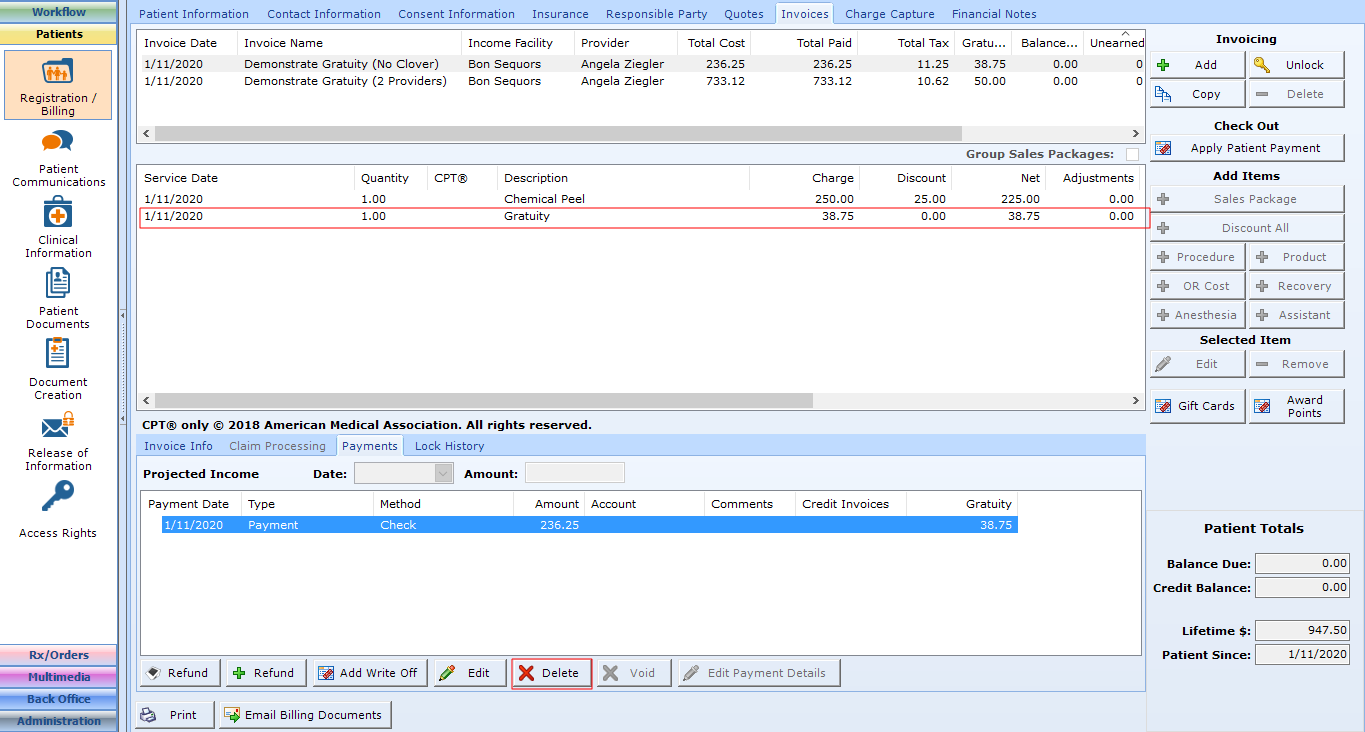
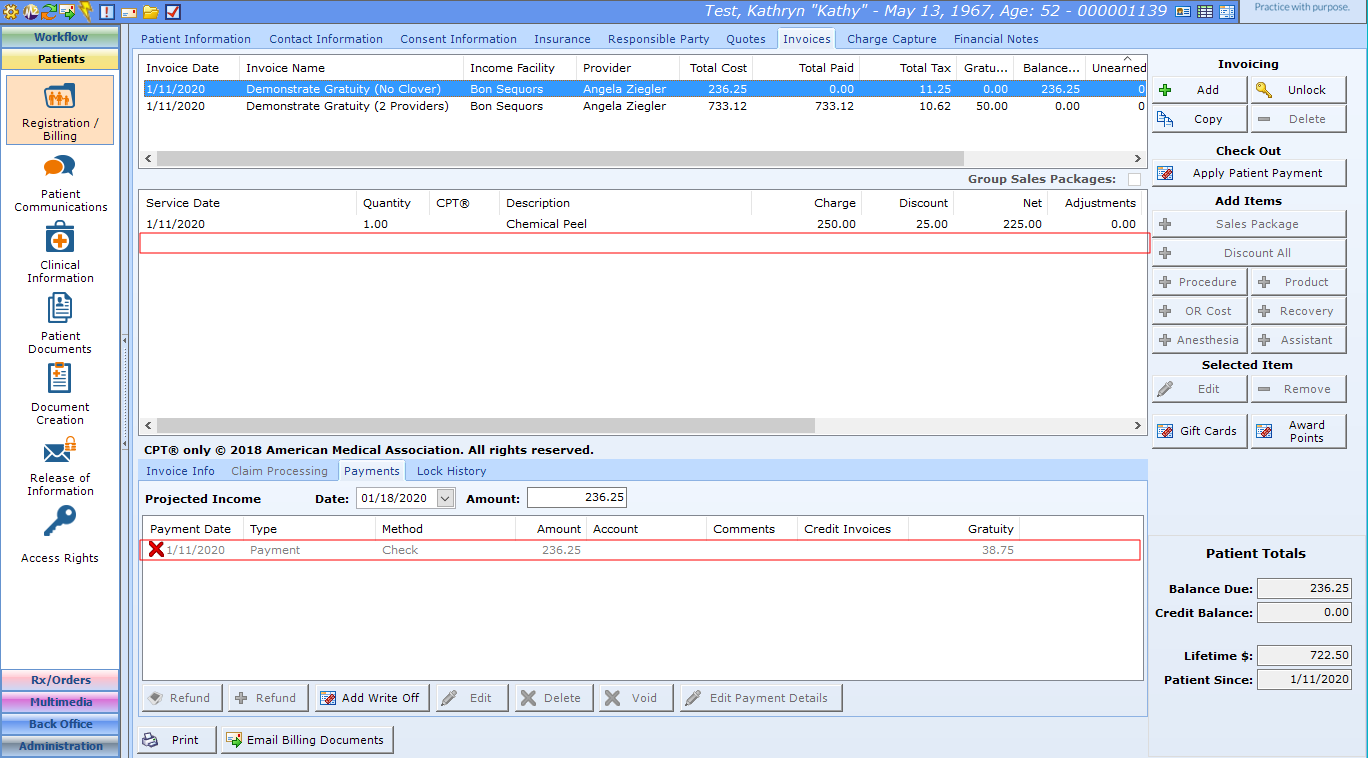
Deleting a Payment with a Gratuity
Gratuity Functionality Must be Enabled
If you do not see the option, please contact Support at (800) 436-3150 ext. 2 or support@patientnow.com.
Tips, Tricks, and Notes for Gratuity
- If the patient has already paid their invoice and then they ask about leaving a tip, just add another payment to the invoice to create the Overpayment and assign it as Gratuity.
- You cannot create a Gratuity using Award Points, and Award Points are not accrued for Gratuity.
- If you use a Clover Device, the patient must add the Gratuity on the Clover Device.
- Lifetime $ for the patient does NOT include Gratuity. For additional information, check out Lifetime $ Calculation
- Only Providers may be assigned Gratuity, not Sellers.
- Gratuity may only be assigned on Immediate Sale and Prepaid Packages invoices, NOT on Surgery, Gift Card, or Professional - Insurance.
- Gratuity payments may not be applied to an "empty" invoice (no procedures or products added).
- The invoice must be paid in full to pay Gratuity (e.g. no Balance Due from patient).
- Gratuity payments are non-refundable; you may refund the amount of the products and procedures, but not the Gratuity.
Gratuity may only be added to an invoice by applying a payment that is greater than the amount due. In the example below, the patient is sold a Chemical Peel for a total of $236.25. The patient is paying with a check and writes the check for $275, saying that the overpayment is a tip for Dr. Ziegler.
Select Patient.
Navigate to Patients | Registration / Billing, Invoices tab.
Select an existing invoice OR create a new invoice. Note: for a new invoice, you should follow best practice and right-click on the appointment in the schedule and select Create Invoice.
Select Apply Patient Payment.
Enter the overpayment (in this case $275).
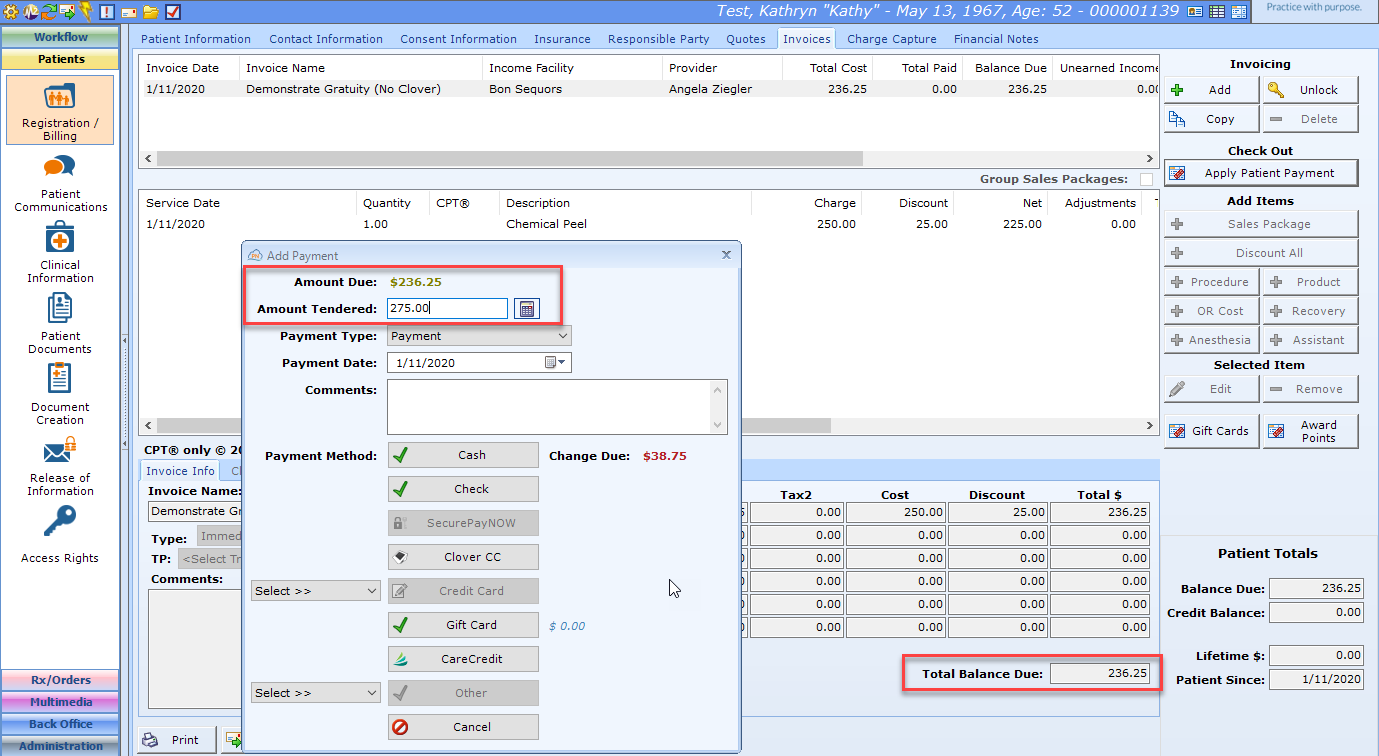
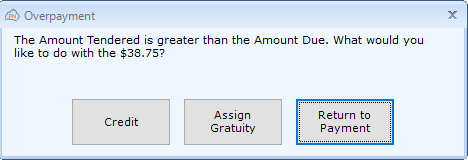
Select the Payment Method (in this case Check). The Overpayment dialog appears.
Select Assign Gratuity.
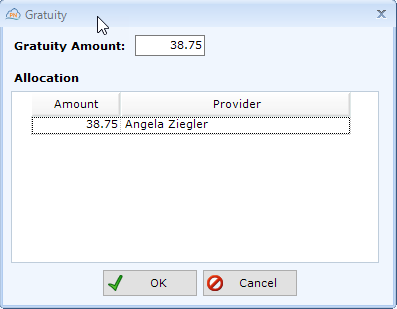
The Gratuity dialog will appear. Since there is only one provider on this invoice, the entire overpayment is assigned to Angela Ziegler as Gratuity.
Select OK.
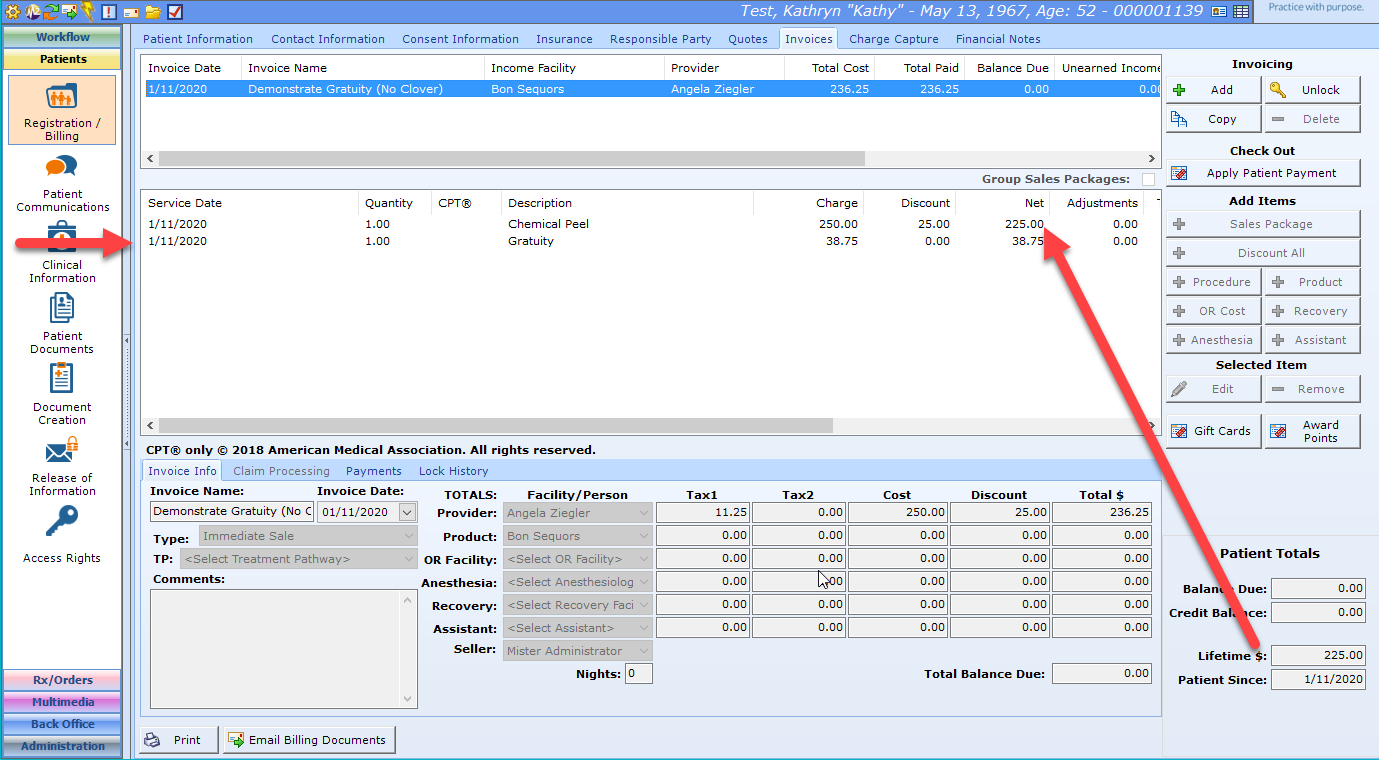
patientNOW adds a line to the invoice to show the Gratuity.
Note: the Gratuity is not included in the Lifetime $ in the lower right corner.
Adding Gratuity through the Clover Device
In order for patientNOW to accept Gratuity from the Clover device, you must configure the device to accept and pass the tip. For additional information, check out Configure Your Clover Mini.
If the clover returns a Gratuity amount, the Assign Gratuity dialog appears.

Once you select OK, patientNOW adds a line to the invoice to show the Gratuity. For additional information, check out Add Gratuity to an Invoice.
Applying Gratuity to an Invoice with Multiple Providers
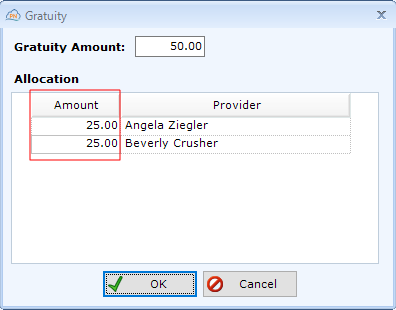
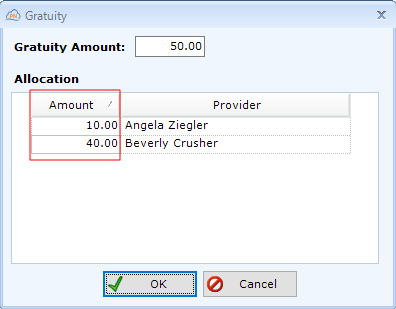
If the invoice has more than 1 provider, patientNOW will ask you to enter the amount of gratuity for each provider.
patientNOW allows you to edit a Gratuity that was previously edited.
Select Patient.
Navigate to Patients | Registration / Billing, Invoices tab.
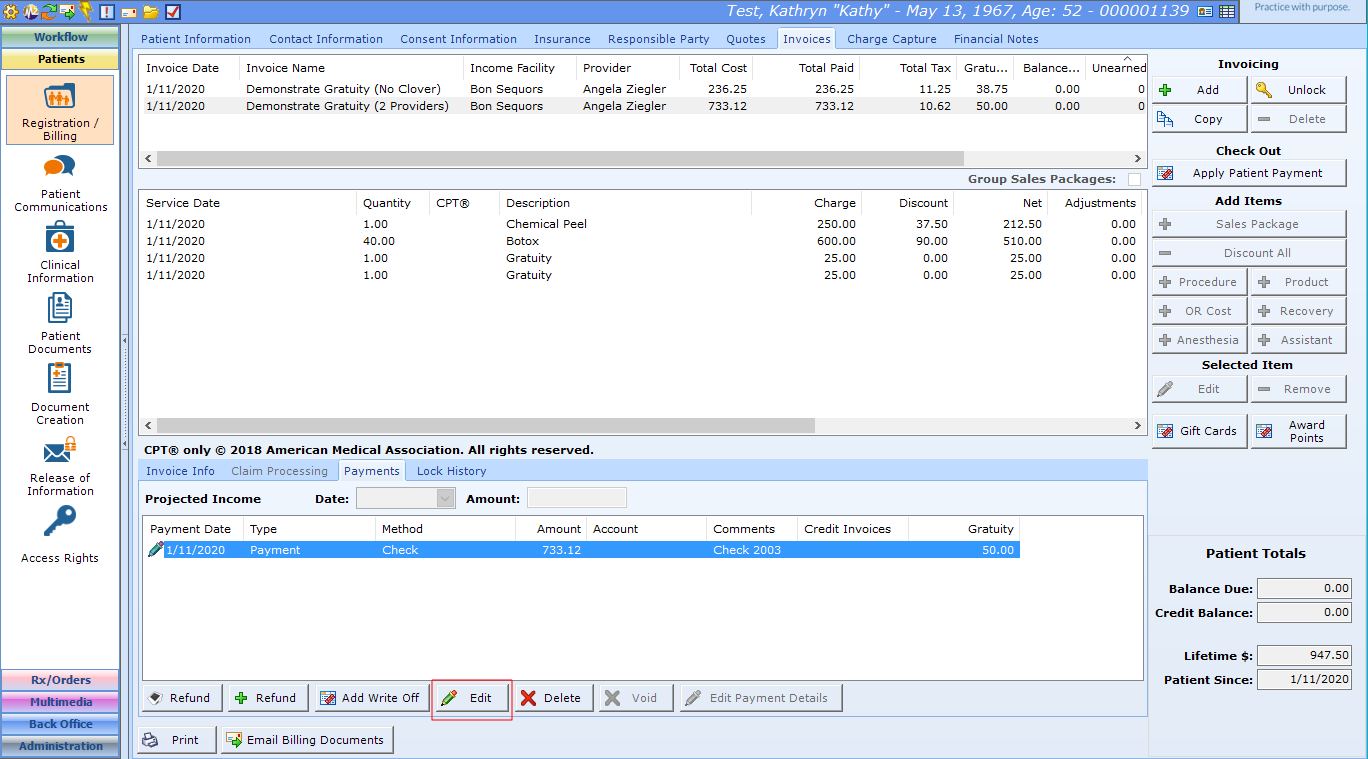
Select an existing invoice and navigate to the Payments subtab.
Select Incorrect Payment and Select Edit; the Apply Patient Payment dialog appears.
If necessary, correct the Amount of the Payment and Select the Payment Method (should be the same as the original payment).
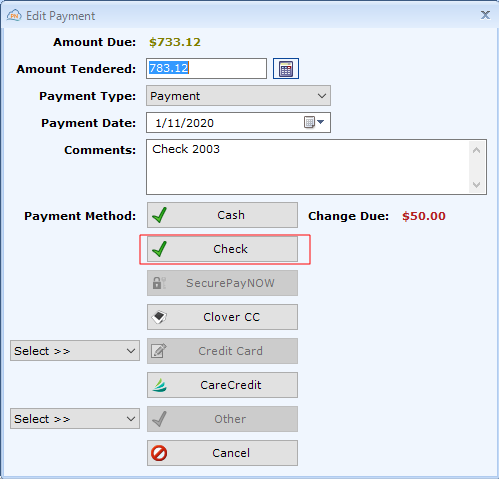
Enter the corrected Allocation.
Deleting a Payment with a Gratuity
The general rule with Payments is to NEVER delete them. However, occasionally a payment is entered on the wrong patient or wrong invoice and you need to Delete it.
Select Patient.
Navigate to Patients | Registration / Billing, Invoices tab.
Select an existing invoice and navigate to the Payments subtab.
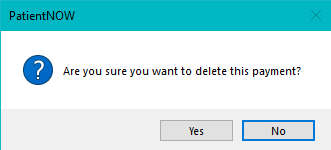
Select Incorrect Payment and Select Delete; the confirmation dialog will appear. Select Yes.
The next screen shots demonstrate how the invoice looks before the payment is deleted and after it is deleted.
